Categorize your foods to make it easier for your providers to select them when entering menus. These categories are also included on your food chart. Watch the video below, or click a link on the table of contents to jump to a specific food category task.
Adding Food Categories
- From the menu to the left, click Foods.
- Click Food Categories.
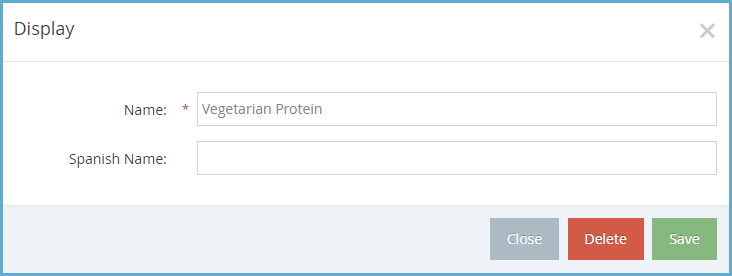
- Click Add Category. A pop-up opens.
- Click the Name box and enter a name for this category.
- Click the Spanish Name box and enter a Spanish name for this category.

- Click Save.
Editing Food Categories
- From the menu to the left, click Foods.
- Click Food Categories.
- Locate the category to edit. You can click the Name box or the Spanish Name box and begin typing a food category to filter the list.
- Click the category to edit.
- Update the name and/or Spanish name, as needed.
- Click Save.
Deleting Food Categories
Before you can delete a food category, you must move all foods assigned to that category to a different category. To do so:
- From the menu to the left, click Foods.
- Click Food List.
- Click the Category drop-down menu and select the category you are removing. The foods assigned to that category display.
- Click the first food in the list. The Edit Food page opens.
- Click the Category drop-down menu and select a new category for this food.
- Click Save.
- Click
 at the top of the page to move to the next food.
 - Repeat Steps 7-9 until all foods have been removed from the category you are deleting.
Now you can delete the category:
- Click Foods.
- Click Food Categories.
- Select the category to remove. A pop-up opens.
- Click Delete.
- At the Are You Sure prompt, click Delete.

 at the top of the page to move to the next food.