
The Invoices section of Parachute is where you go to generate invoices to be sent to Parents/Guardians and Agencies to pay for tuition and other Childcare related fees. All invoices, regardless of status (i.e. Paid, Unpaid, etc.) can be found in this section . The Invoices section is designed to help you keep track of who has or has not made payments related to your services.
Note: If you are looking for how to add additional income outside of invoices, see the Add Other Income section.
To view all of your invoices, navigate Invoice section. From here you can view all sent invoices, their status, and other important invoice data
- From the menu to the left, click Invoices.
- Select Invoices. The invoice screen loads.
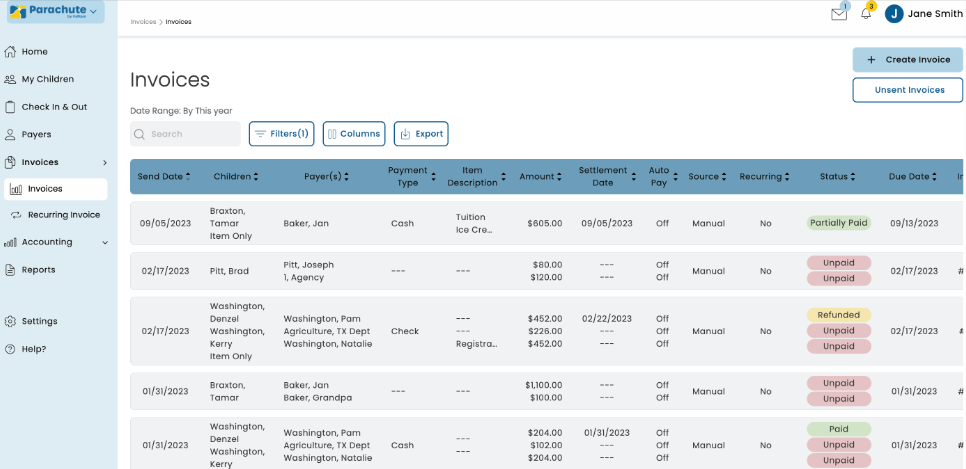
- From here, you can search and use filters to find invoices as needed:
- Use the Search box to start entering in any data found on the invoice(s) you're looking for to automatically filter the search results.
- Use the Filters to narrow down the list of invoices based on certain criteria.
- Payment Type: The payment method type used to pay an invoice.
- Item Description: View invoices that include specific item descriptions.
- Amount: Total Invoice amount.
- Autopay: Filter based on if Autopay is On, Limit, or Off.
- Source:
- Payer: Payment was User Initiated.
- Recurring: Invoice is a Recurring Invoice.
- Manual: Invoice is a single Invoice.
- Scheduled: Invoice was scheduled then sent.
- Status:
- Paid: Invoice balance has been paid in full.
- Partially Paid: A portion of the invoice balance has been paid.
- Pending: A payment via credit card or ACH has been initiated, but funds have not yet been disbursed.
- Unpaid: There is no payment towards this invoice balance.
- Declined: A credit card or ACH payment was attempted but failed. Contact the Payer directly.
- Canceled: This invoice has been voided, no payment is expected.
- Pending Refund: A credit card or ACH refund has been initiated, but has not yet settled.
- Partial Refund: A portion of a payment has been refunded.
- Refunded: The balance of this invoice has been refunded in full.
- Settlement Date: The date the invoice was marked Paid.
- Send Date: The date the invoice was sent to the Payer.
- Due Date: Date the Invoice is due toe be paid by the payer.
- Billing Period: Invoices that include the billing period in the date range selected.
- Use the Columns filter to add or remove columns viewed in the Invoice Search page.
- Export: Export data to an Excel or CSV File. Only the data currently being populated based on the selected filters and columns will be exported.

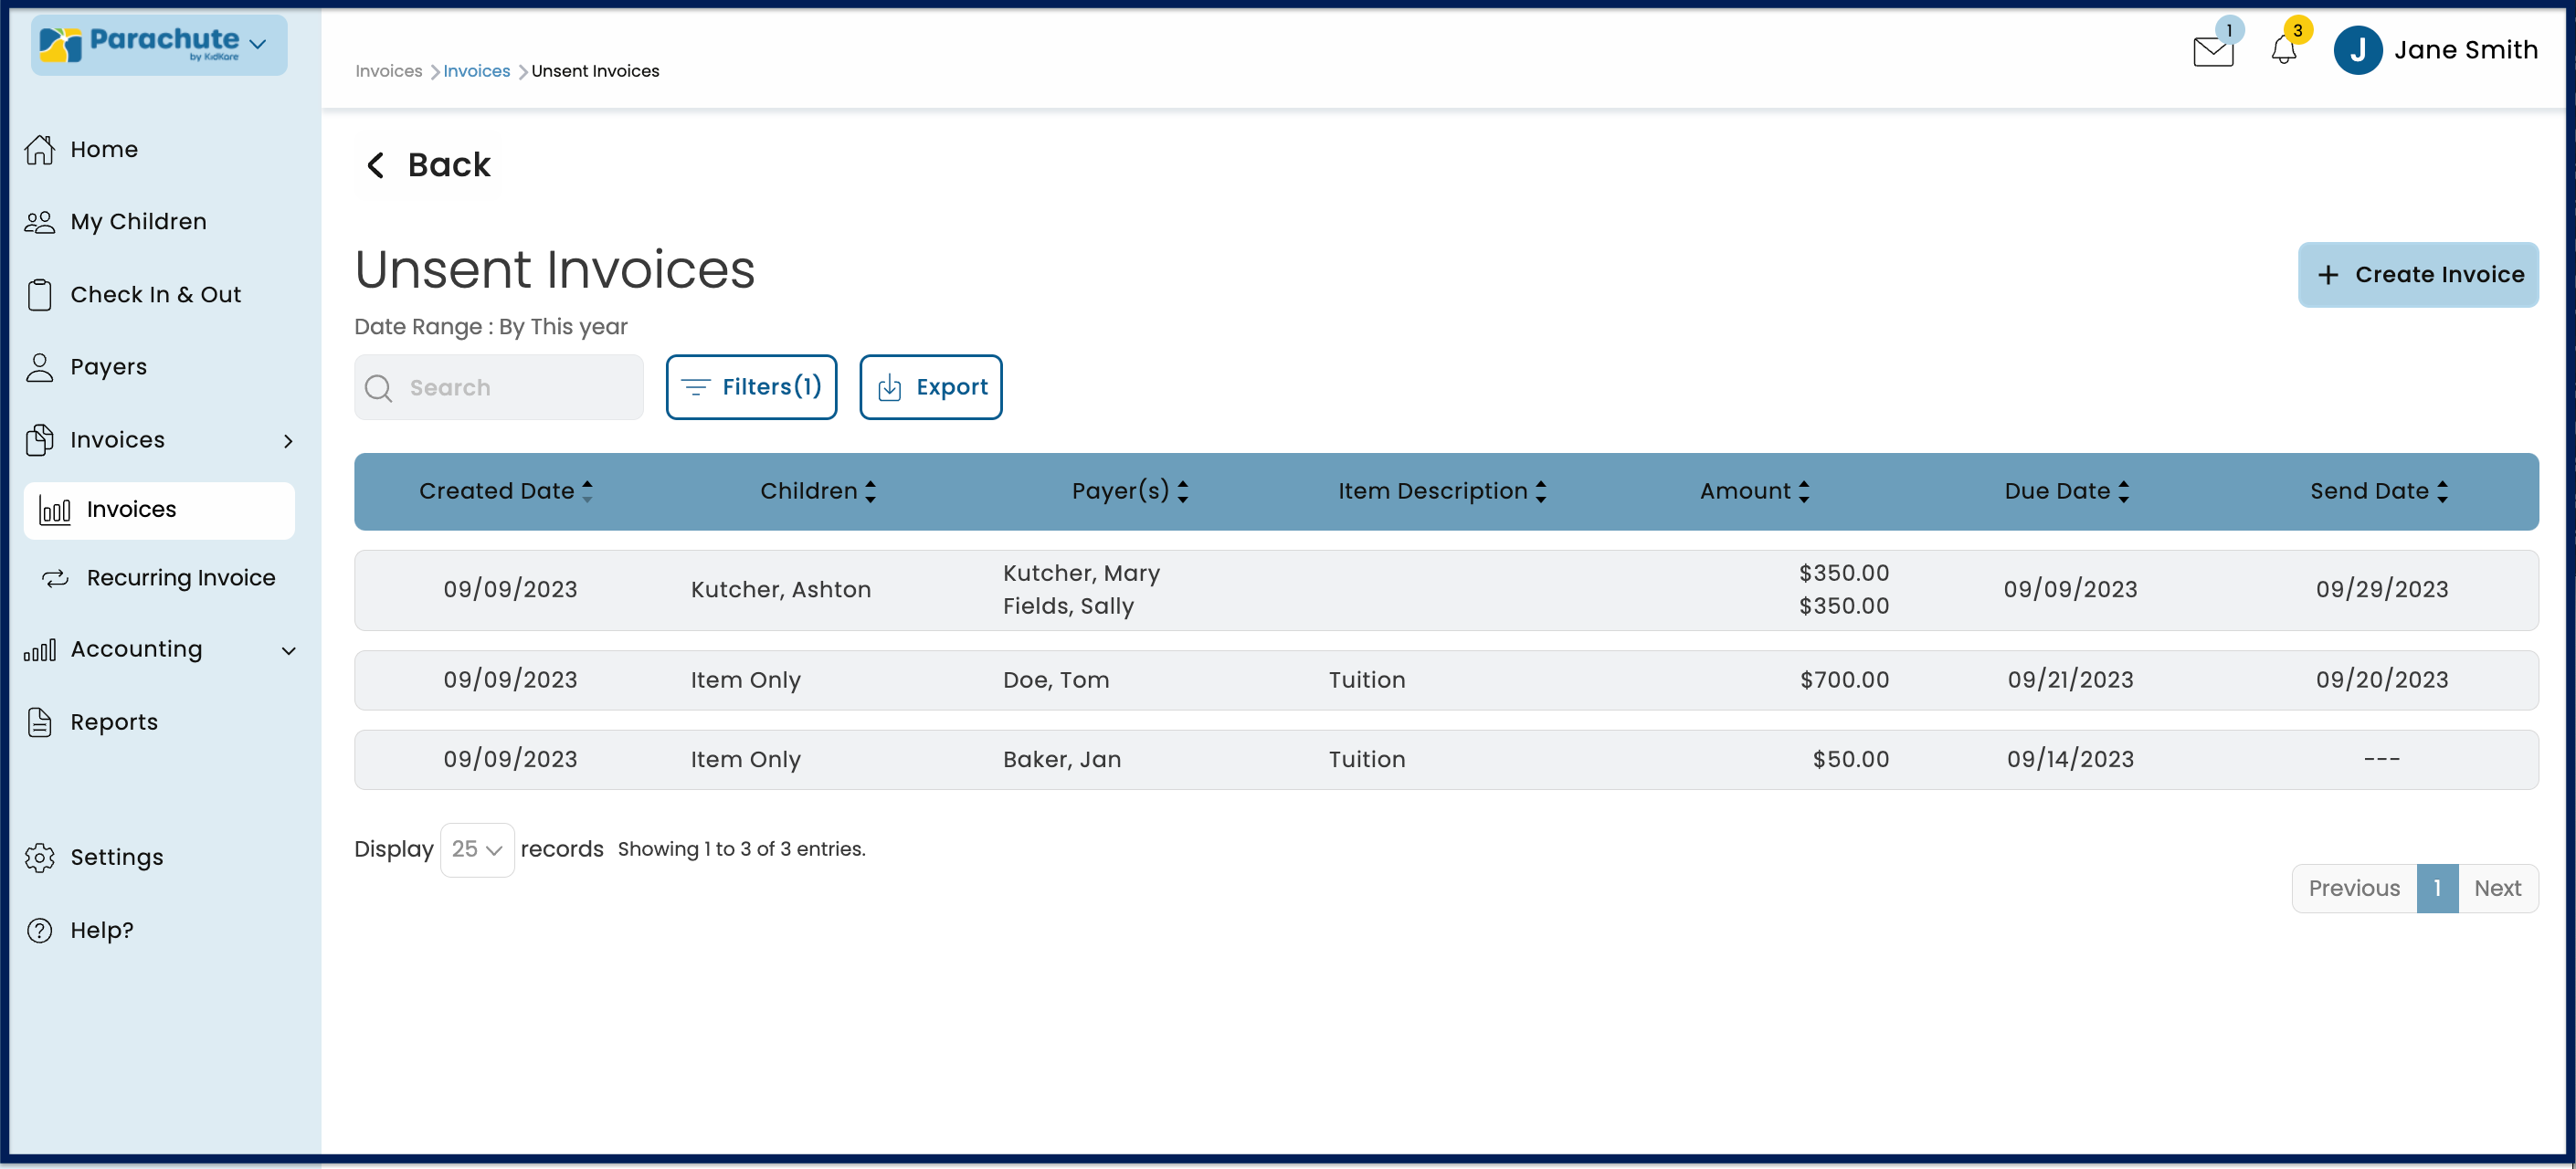
Unsent Invoices
In this section you can find all invoices that are scheduled to be sent in the future as well as saved drafts of invoices that have not been yet been sent.
Note: If an invoice has already been scheduled to be sent on a specific date you do not need to take any further action in order to send it unless you would like to update the scheduled date

- From the Invoice Screen, click Unsent Invoices in the top right corner.
- Use the Search box to start entering in any data found on the invoice(s) you're looking for to automatically filter the search results.
- Use the Filters to narrow down the list of invoices based on certain criteria.
- Item Description: View invoices that include specific item descriptions.
- Amount: Total Invoice amount.
- Due Date: Date the Invoice is due toe be paid by the payer.
- Created Date: The date the invoice was originally created.
- Use the Export button to Export data to an Excel or CSV File.
Edit Unsent Invoices
All invoices in the Unsent Invoices section can be updated.
- From the Invoices screen, click Unsent Invoices in the top right corner.
- Click on the specific invoice you would like to view and edit. The invoice page loads.
- At the top of the screen, there are options to Clone, Delete, and Make Recurring. If you are not needing to use any of these options, proceed to Step. 4.

- .Clone: Clicking this will allow you to create a new invoice with all of the same data automatically populated
- Upon clicking the Clone you will be directed to a new Invoice Create page with all of the details of the original invoice auto-filled except for Due Date and Billing Period.
- All fields on this page can be edited.
- Delete: Click this if you no longer wish to send this invoice. This action cannot be undone.
- Make Recurring: Clicking this will allow you to create a new recurring invoice with all of the same data automatically populated.
- Upon clicking the Make Recurring button you will be directed to the Make Recurring Invoice Page, with all of the details of the original invoice auto-filled except for Due Date and Billing Period.
- To create a new recurring invoice you will have to enter in the First Due Date and Billing Frequency.
Note: You can view all Recurring Invoices in the Recurring Invoice section.
- .Clone: Clicking this will allow you to create a new invoice with all of the same data automatically populated
- Edit the invoice as needed.
- Select the date the invoice will be sent.
- Choose Yes, Send Now to send the invoice now.
- To select a future date, click the
 next to Yes, Send Now to select the date the invoice will be sent.
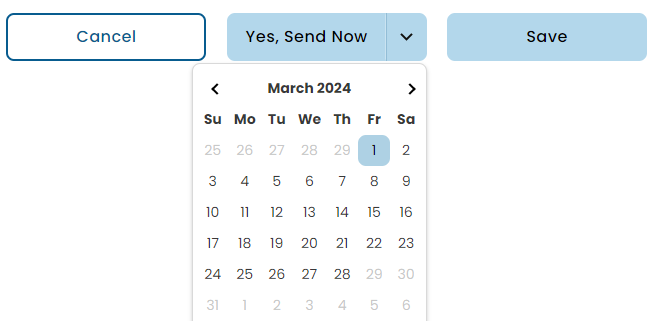
- Once you are finished updating the invoice click Save button.


 next to Yes, Send Now to select the date the invoice will be sent.