
The Send Invitations page is where you send invitations to renew enrollment with your center. If you need to enroll new participants, see Add Participants Online Using eForms.
Required Permissions: You must have the eForms permission enabled on your account to use the eForms feature. Sponsored centers cannot send invitations for enrollment renewal.
- From the menu to the left, click eForms.
- Click Send Invitations.
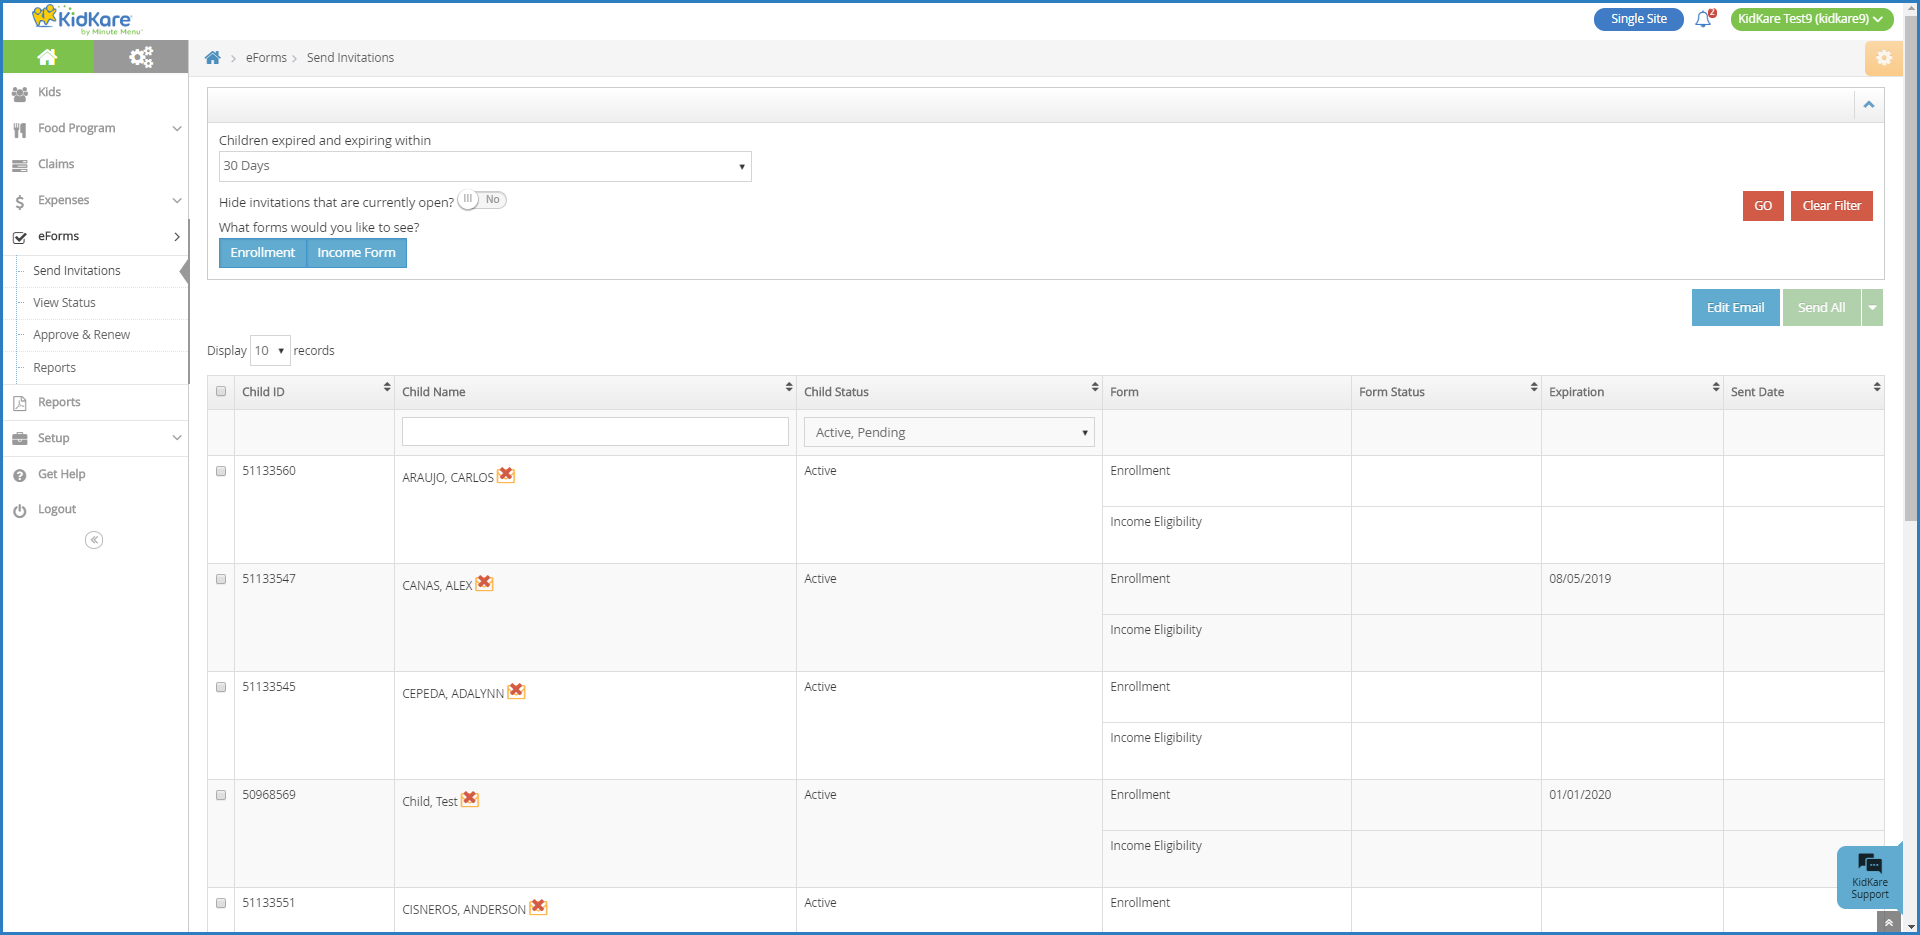
- Set filters for the participants to include.
- Click the Participants Expiring Within drop-down menu and select a date range (30 Days, 60 Days, 90 Days, or Custom Date).
- If you select Custom Date, enter a custom date range in the boxes that display.
Note: According to your display settings, this option may be called something else, such as Children Expiring Within. For more information, see Set Display Settings.
- If you select Custom Date, enter a custom date range in the boxes that display.
- Click the slider next to Hide Invitations That Are Currently Open to hide open invitations. This is set to No by default.
- In the What Forms Would You Like to See section, click Enrollment, Income Form, or both.
- Click Go.
- Click the Participants Expiring Within drop-down menu and select a date range (30 Days, 60 Days, 90 Days, or Custom Date).
- Check the box next to the participants to which to send forms. You can also check the box at the top of the table to select all displayed participants.
- Only the records on the page you are viewing are selected. You can click the Display Records drop-down menu to display additional records (10, 25, 50, or 100).
- Send the form(s).
- To send both enrollment forms and income eligibility forms, click Send All.
- To send a specific form, click
 next to Send All and select the form to send.

Note: Click here to print an instruction sheet to hand out to parents. This sheet provides instructions for completing the enrollment process.
The video below gives you some insight into what the guardians see when they receive the invitation and fill out the enrollment forms.