You can view and print the Office Error Report (OER) from the Reports page or the Claim Details page once you’ve processed claims.
Printing the OER from the Reports Menu
- From the menu to the left, click Reports.
- Click the Select a Category drop-down menu and select Claims.
- Click the Select a Report drop-down menu and select Office Error Report.
- Click the Month box and select the month for which to print the report.
- Click the Select Center drop-down menu and select the center for which to print the OER. You can also select All Active Centers to print the OER for all currently active centers.
- Click Run. The OER downloads as a PDF.
Printing the OER from the Claim Details Page
- From the menu to the left, click Claims.
- Select List Claims. The View Claims page opens.
- Set filters for the claims to view:
- Select the All Centers option or the Selected Center option. If you choose Selected Center, you must select a center at the top of the page.
- If you operate in multiple states, click the State drop-down menu and select the state(s) to view. You can also select All States.
- Click the Claim Month drop-down menu and select the claim month to view. You can also select All Months.
- Click Go.
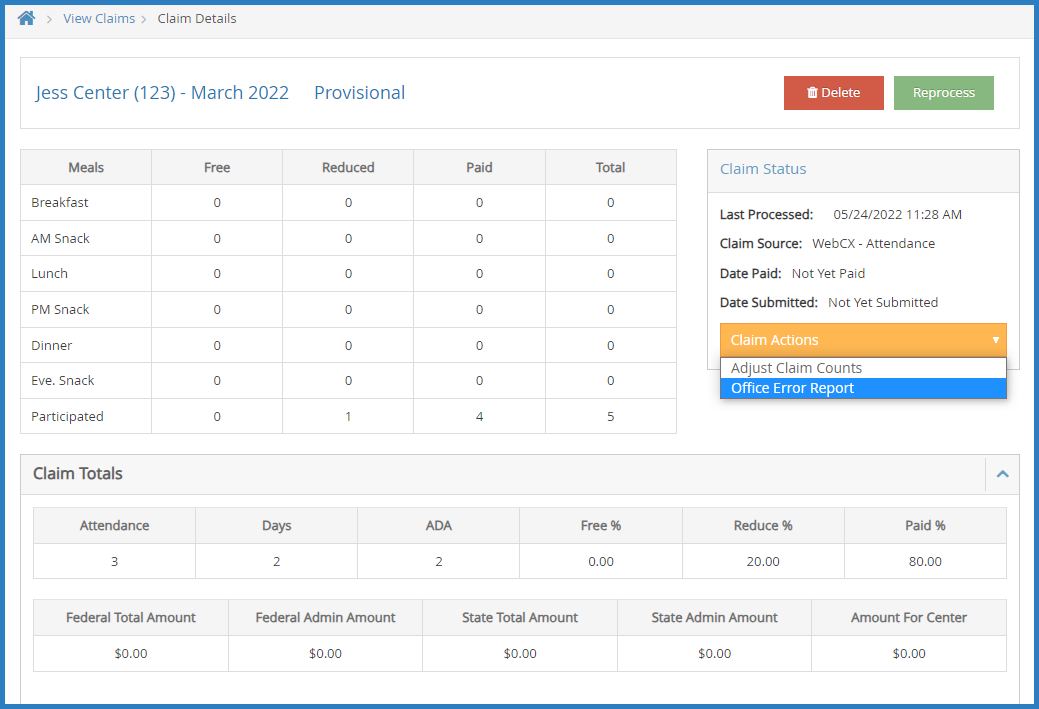
- Click the link in the Month column to open the Claim Details page for the claim to view.
- Click the Claim Actions drop-down menu and select Office Error Report. The OER downloads as a PDF.