
Follow the steps below to add ARAS/SFSP sites into KidKare:
- From the menu to the left, click Center Management.
- Click Enroll Center. The Enroll Center page opens. This page is divided into three tabs:
- General
- License/Schedule
- Oversight
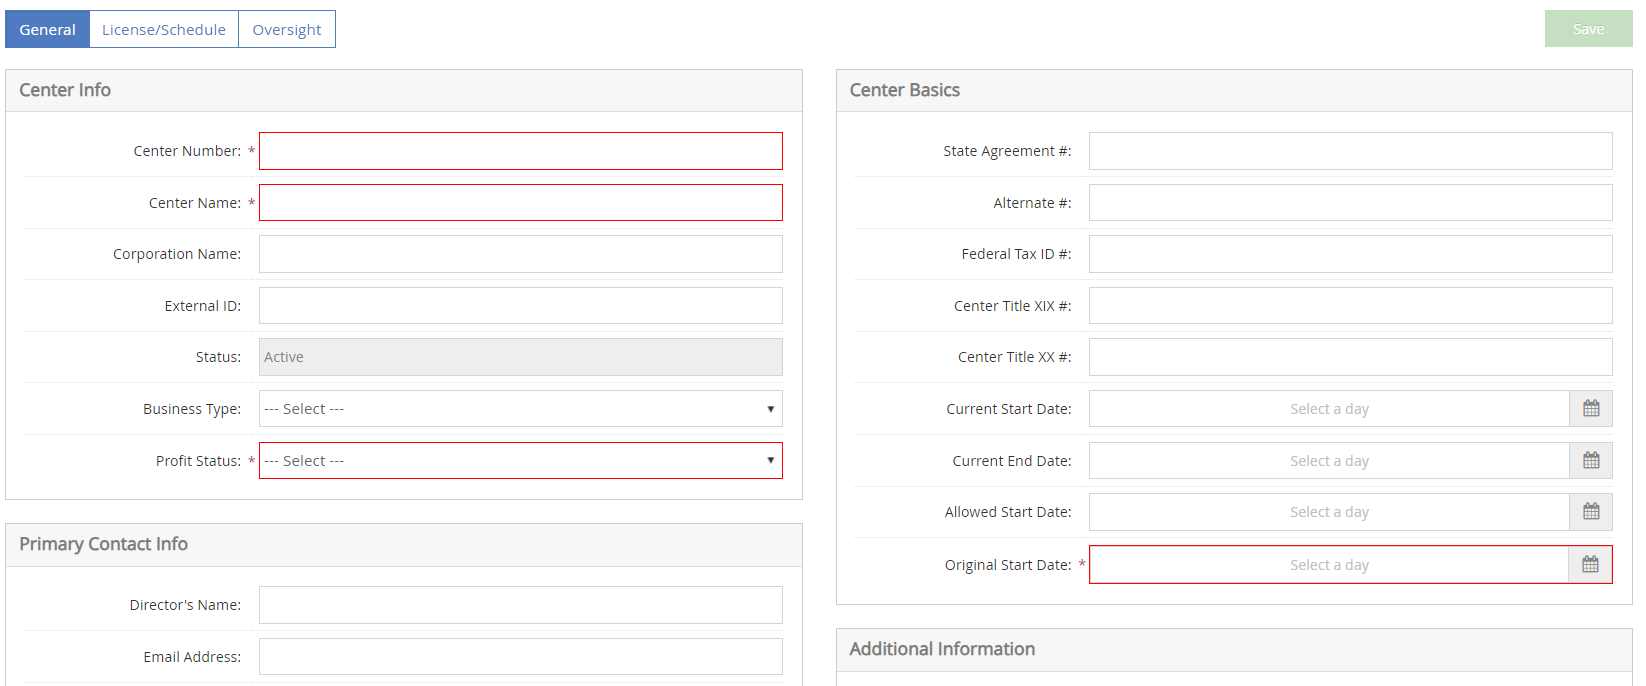
- In the General tab complete all required fields marked with a "*". Complete the remaining information in this tab, as needed. Note that while only the required fields are called out in this article, we strongly recommend you complete all other applicable fields, including the director's name and email address so you can send a welcome email through the program.
- Click the License/Schedule tab complete all required fields marked with a "*" along with the additional details listed below:
- In the General Info and Hours box, select the Days Open, Months Open

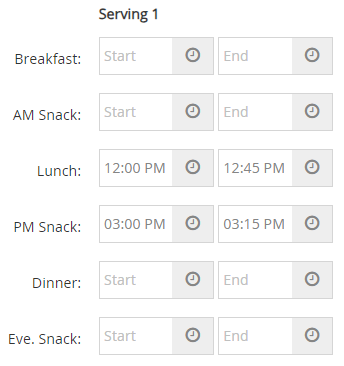
- In the Meal Schedule box, enter the starting and ending time for the meals you are approved to serve.
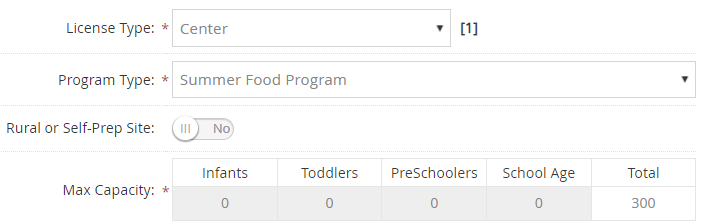
- In the License Info section, Click the License Type drop-down menu and select the type of license under which the center operates.
- Next, click the Program Type drop-down menu and select a program type of Summer Food Program or At-Risk - ARAS. Make sure you select the correct program type.
- Click the Total box in the Max Capacity section and enter the total number of children allowed at the center.
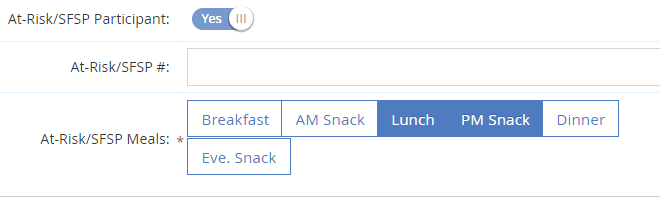
- Scroll down to the At-Risk/SFSP Meals field at the bottom of the License Info box, and select the meals this site is approved to serve.
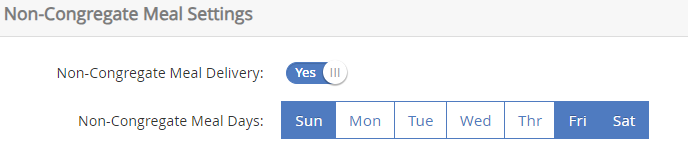
- If this site does multi-day issuance or meal deliveries, use the Non-Congregate Meal Settings box to turn this feature on. Select the days that the delivered meals are intended to be consumed. Make sure all days meals are delivered are also selected in the Days Open you selected in the General Info and Hours.
- In the General Info and Hours box, select the Days Open, Months Open
- Click the Oversight tab and go to the Center Login Info box. You can update the center's log in ID and password to something easier, or you can accept the system-generated one.
- Click Save.


Non-Congregate Sites
If you have a site that is operating both congregate and non-congregate feeding, reach out to your state to verify how you will be submitting your meal counts each month. In most cases, the meal counts will need to be separated. To do this, you will need to enroll one site for congregate meals served, and then enroll a second site for non-congregate meals served. This will generate separate claims data for each feeding type even though they operate as the same location.
Open Enrolled Sites
If the ARAS/SFSP site you are adding is open enrolled, once you add the site they will be able to login and utilize the meal counter feature.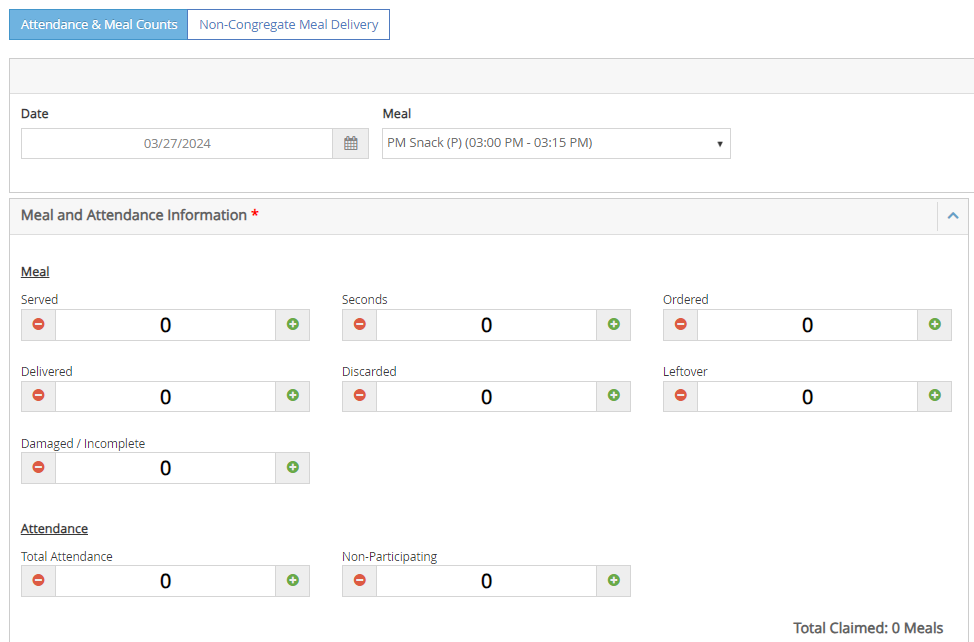
Closed Enrolled Sites
If the ARAS/SFSP site you are adding is closed enrolled, you will need to enroll at least one participant prior to giving the site access. Once a participant is enrolled the meal counter screen will update to the Attendance and Meal Count screen where you will mark meals by child. This must be done at the sponsor level. If you do not have any participants to enroll, enroll a demo or test participant that can be withdrawn later.
To learn how to enroll a participant, see Enroll Children into Centers.
Custom Fields for Meal Counter Screen
For open enrolled sites, sponsors have the ability to add three custom fields to the meal counter screen. These fields can be used for additional data or counts that needs to be tracked. Once created, these custom fields will apply to all open enrolled sites effective the first day of the next month. Note: If you add custom fields on February 12th, they will not appear until March 1st. This is to ensure that all data for the month is accurate and fields are not added/updated mid-month.
In order to add custom fields:
- Click the
 button above the main menu.
- Scroll down to the Aras/SFSP Settings section.
- Toggle the Enable custom field column to Yes.
- Once toggled on, the Name custom field will open up a text box for you to enter a name.
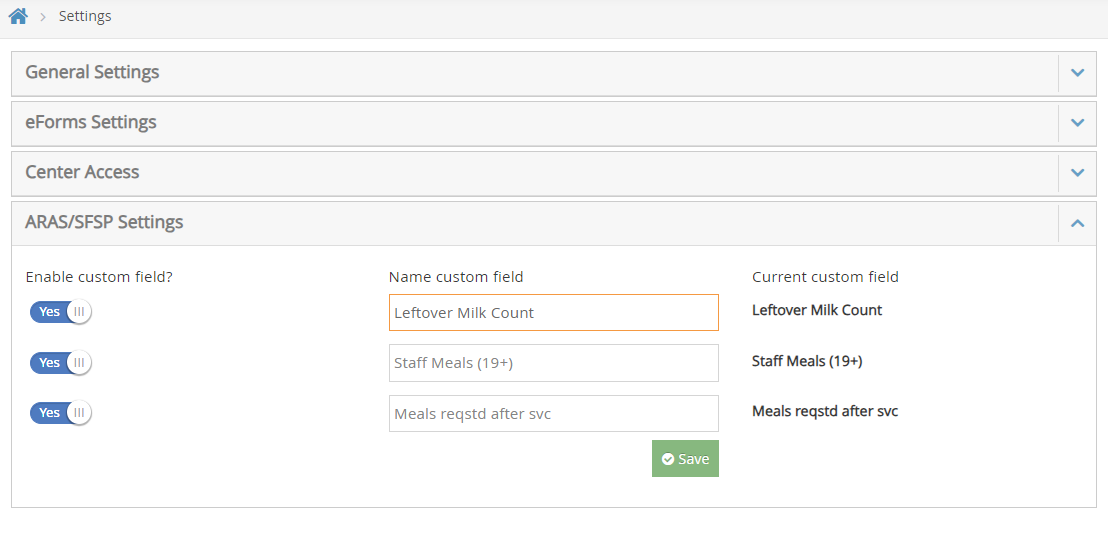
- Once all fields needed are toggled on and have a name, click Save.
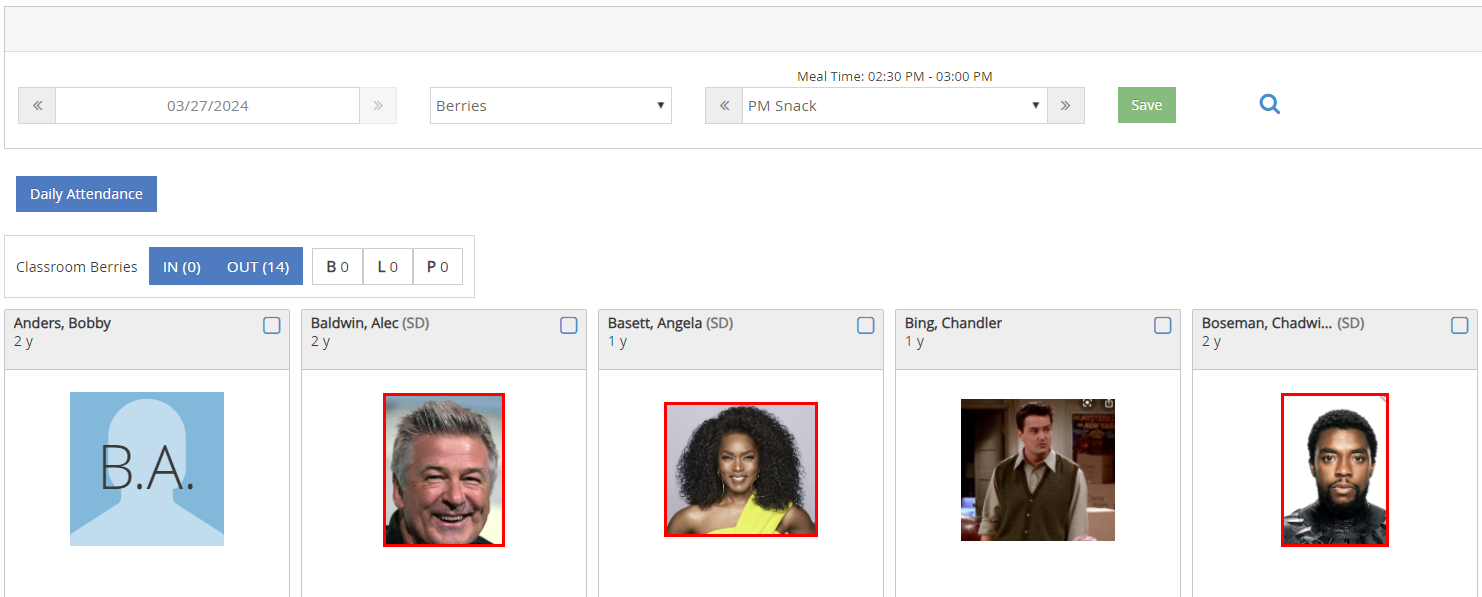
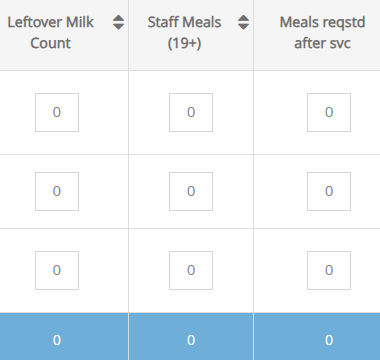
- Once the first of the following month comes, the custom fields will appear on the meal count screen and the bulk attendance screen as shown below:

 button above the main menu.


